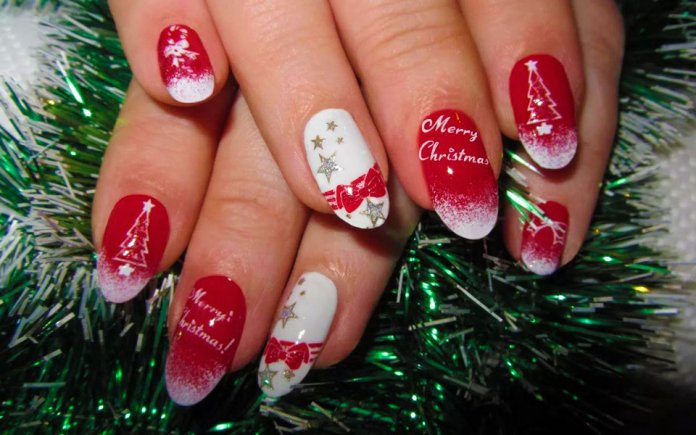
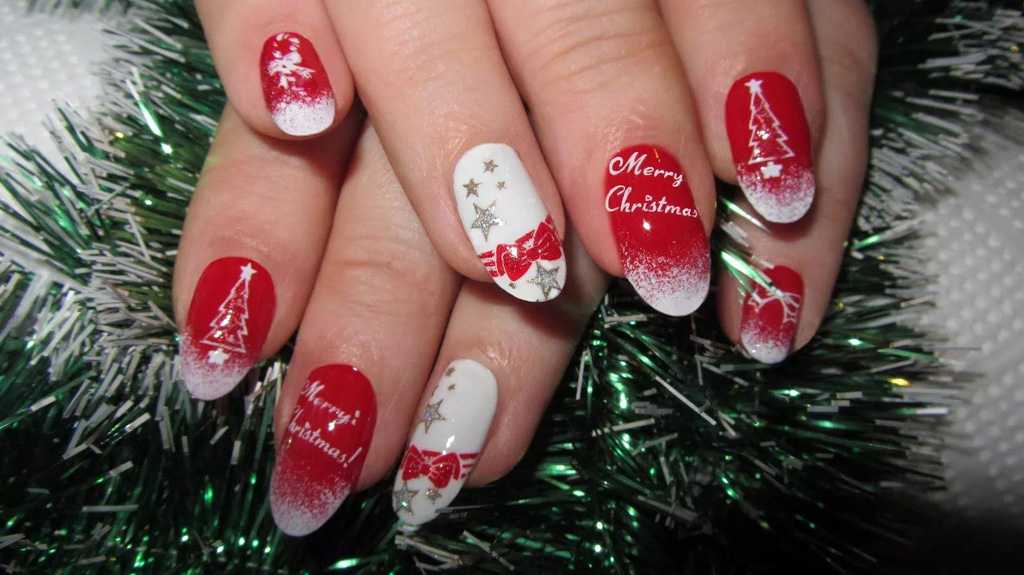
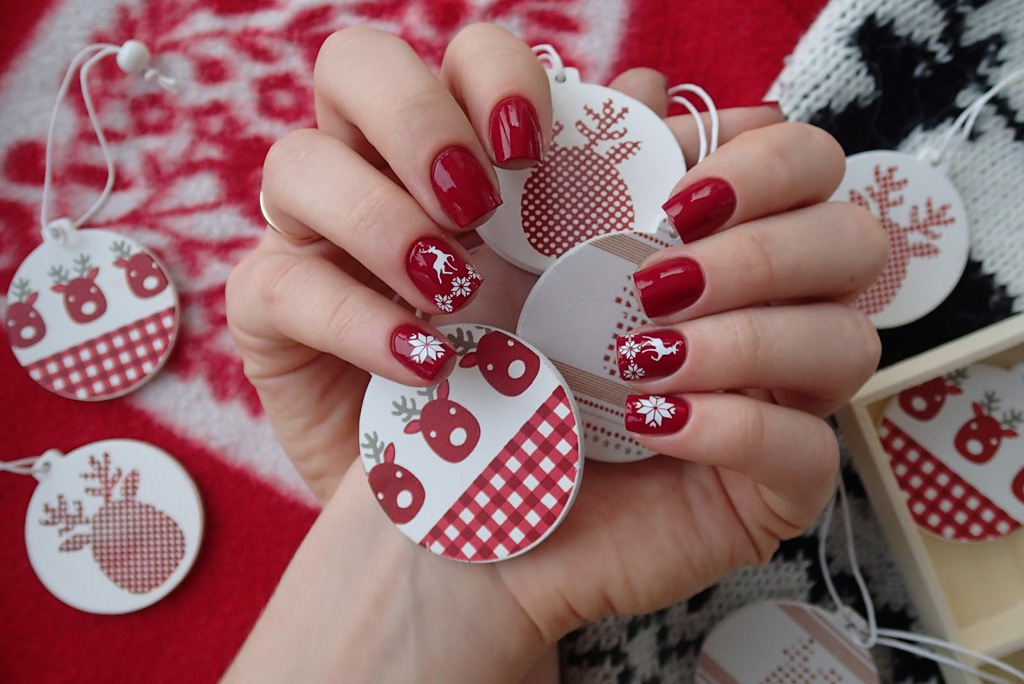
Long before the New Year, women buy fabulously beautiful dresses and flashy accessories, make chic haircuts to meet the holiday fully armed. However, do not forget about the beauty of your nails. Instead of buying expensive jewelry to draw attention to your hands, you can change the color of the nail polish and surprise those around you with an original New Year's nail art.
We present the best ideas for New Year's manicure 2018. All of them are easy to do at home, you just need to follow simple instructions.
5. Cute snowman

Drawing a funny snowman on one of the nails is suitable for both a very young girl and a mature woman who is young at heart.
You will need: colorless basecoat, topcoat, blue varnish, white varnish, red varnish, black varnish, orange varnish, brown varnish and a fine brush (or toothpick).
Execution stages:
- Wash your hands with soap and water. This will allow you to degrease your nails, the varnish will lie smoother and its adhesion to the nail plate will be more reliable.
- Apply a clear base coat to your nails and let dry.
- Apply blue nail polish to the nail chosen for the drawing and let dry.
- Take a white polish and a thin brush and use them to draw a large oval that starts from the tip of the nail and ends a little short of the middle of the nail. This will be the body of the snowman.
- Draw a small circle that grows out of the large oval. This will be the head of the snowman.
- With the help of black varnish, draw three dots - "buttons" in the center of the oval vertically down.
- Use black varnish to paint the snowman's eyes, and orange varnish to paint a carrot nose.
- With red varnish, paint a red scarf where the oval and circle meet.
- If you wish, you can decorate the snowman with a beautiful brown hat or bucket.
- Paint the rest of the nails with blue varnish and, when it dries, apply white snowflakes to the nails with a brush or toothpick.
- Protect the painting with a clear top coat.
4. Christmas tree

A very simple and, at the same time, elegant and bright manicure, which can be done in a few minutes.
You will need: two thin strips of masking tape, dark green varnish "with suede effect", translucent gel varnish with large green sparkles, tweezers, glue for rhinestones and rhinestones (optional), light gray or silver varnish, colorless base and top coat, thin brush. To decorate the nails you see in the picture, they used OPI Skull & Glossbones, OPI Here Today ... Aragon Tomorrow Suede, and OPI Fresh Frog of Bel Air.
Execution stages:
- Wash your hands with soap and water.
- Apply a clear base coat to your nails and let dry.
- Apply silver or light gray polish to your nails, let dry. This neutral shade is the perfect backdrop for a green herringbone.
- You will now need two strips of masking tape (or duct tape). Use them to form a large triangle in the middle of one of the nails, with the apex pointing up towards the cuticle.
- Apply green polish to the resulting large triangle on the nail. Let dry
- Apply glitter polish over the green nail polish.
- Use tweezers and nail glue to decorate the resulting Christmas tree with rhinestones.You can put a small star rhinestone or any other on top.
- Repeat steps 4 through 7 with the rest of your nails.
- Cover your nails with a top coat.
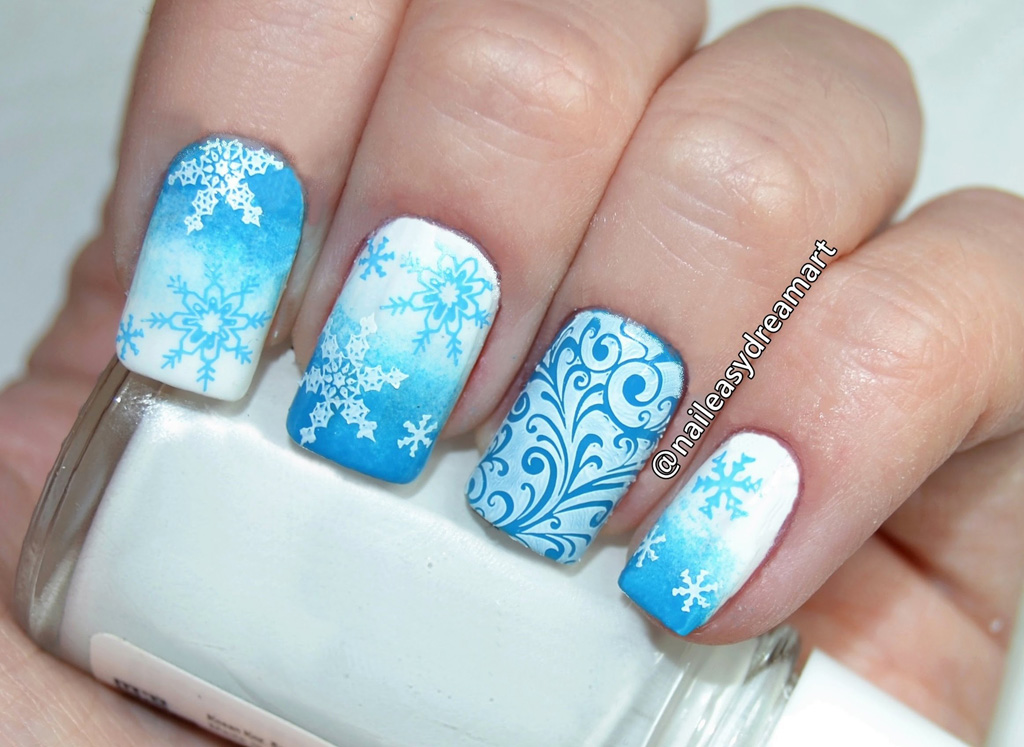
3. Snowflakes

In third place in our top 5 tips for New Year's manicure is a drawing for which you can use almost any base color. Snowflakes look great even on black nails.
You will need: blue varnish, white varnish, silver glitter varnish, brush, base and top coat.
Execution stages:
- Wash your hands with soap and water.
- Apply a clear base coat to your nails and let dry.
- Paint all but one (or two) nails blue and apply silver polish on the rest. Let dry.
- Start painting the snowflake by painting the letter X with white polish, large or small as you want.
- Draw another, smaller X that intersects with the first to form a snowflake.
- Add a few small pointed beams to each large beam of the snowflake and then apply a finishing coat to "seal" the design.
2. Hat of Santa Claus

To make a bright Santa hat, you don't even need to paint your entire nail.
You will need: base coat, top coat, red varnish, white varnish, black varnish, brush and toothpick.
Execution stages:
- Wash your hands with soap and water.
- Apply a clear base coat to your nails and let dry.
- Then paint over the entire upper part of the nail up to the "smile line" with red varnish. This will be the base for the Santa hat.
- Using a fine paintbrush or toothpick and black nail polish, draw a slightly concave triangle with the apex facing the cuticle. This will be the edging of the cap.
- Fill in the empty space of the triangle with red varnish.
- Paint the fur with white varnish.
- Apply a top coat.
1. Christmas garland

A multi-colored garland is an indispensable attribute of a beautiful New Year tree. Why not decorate your nails with a garland for a festive look?
You will need: white varnish, black varnish, red varnish, green varnish, yellow varnish, dots or ordinary toothpick, base and top coat.
Execution stages:
- Wash your hands with soap and water.
- Apply a clear base coat to your nails and let dry.
- Paint all your nails with white polish.
- Using a thin brush and black varnish, create a wire that will hold the Christmas lights.
- Then use dots to create small red, green and yellow "bulbs"
- Add tiny specks of white inside the bulbs for a shine effect.
- Apply a top coat.

Hope you enjoyed one of our 2018 New Year's nail art ideas. And if not, we will definitely introduce new ones ... next year!